Test Sends

Learn how to send test emails to your own inbox or to your teammates.

Tip

You can send a test email directly from the command palette.

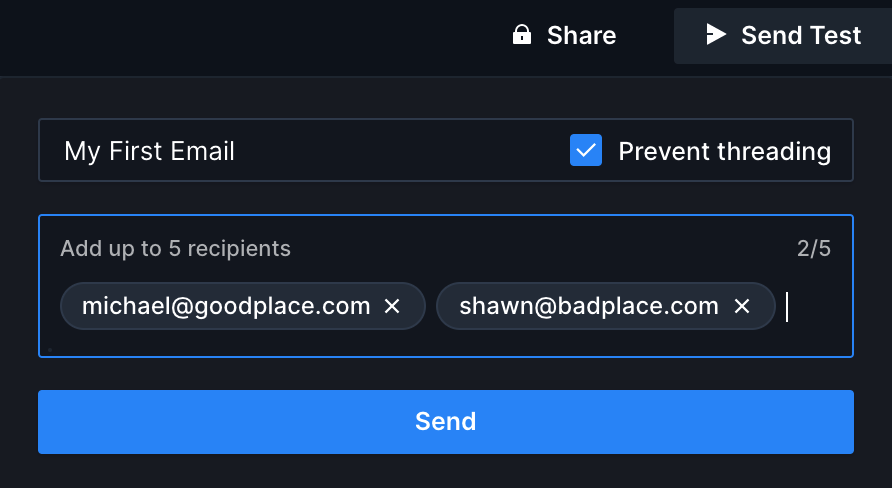
Now that you've made an awesome email, it's time to send it to your own inbox (or your teammates') to make sure everything looks good. Click the Send Test button in the upper right corner of the preview, and enter the test emails with commas between them. Your user email address will be added by default to the list of recipients. You can also change the email subject (the email title, by default) and prevent inbox threading. The Prevent threading checkbox makes the subject line unique so your inbox won't group the test email with previous sends. Disabiling the ability to prevent threading is only available on the Pro and Business tiers.

Up close image of the top right corner of the Parcel window, showing the Send Test button and dialog. The email name, "My First Email" is displayed. A checkbox labeled "Prevent Threading" is checked to the right. Below is a text field with two email addresses and a "Send" button.
Screenshot showing the send test email feature

As a security precaution, test emails will have at least " | Test" appended to the subject as well as a time stamp.

Email Groups

If you regularly send test emails to the same group of people, you can create an Email Group to expedite your test email sending. In the Send Test menu, click Create a New Group. Enter up to 10 email addresses and give the group a memorable name. Click Save and then use the email group in the Test Send address field. You can later edit or delete the group.

Silent video of the top right portion of the Parcel window. The cursor moves to and clicks on the Send Test button in the upper right, which reveals a new dialog. The email name, "My First Email" is displayed. A checkbox labeled "Prevent Threading" is checked to the right. Below is a text field with two email addresses and a "Send" button. At the bottom of the dialog is a button labeled "Create a new Group", which is clicked. A new dialog appears with two text fields, labeled "Name" and "Emails". A group name and several email addresses are typed into their respective fields, and then the "Save" button below is clicked, closing the email group dialog and returning to the Send Test dialog. The Send Test dialog now has an option at the bottom with the name of the group that was just created. That option is clicked, and a new entry is added to the email recipients field with the group name and number of members. The cursor moves to the group name at the bottom and clicks on a pencil icon, which returns the user to the Email Group dialog. The last email in the group is removed and replaced with a different email.
Screen recording showing Email Groups