Snippets
Insert reusable bits of code in the code editor.
Use snippets to quickly insert repeated code such as containers, columns, and buttons across all of your workspaces.
Community users can create up to 50 snippets. Pro and Business users can create unlimited snippets.
Using the visual editor? Create presets instead!
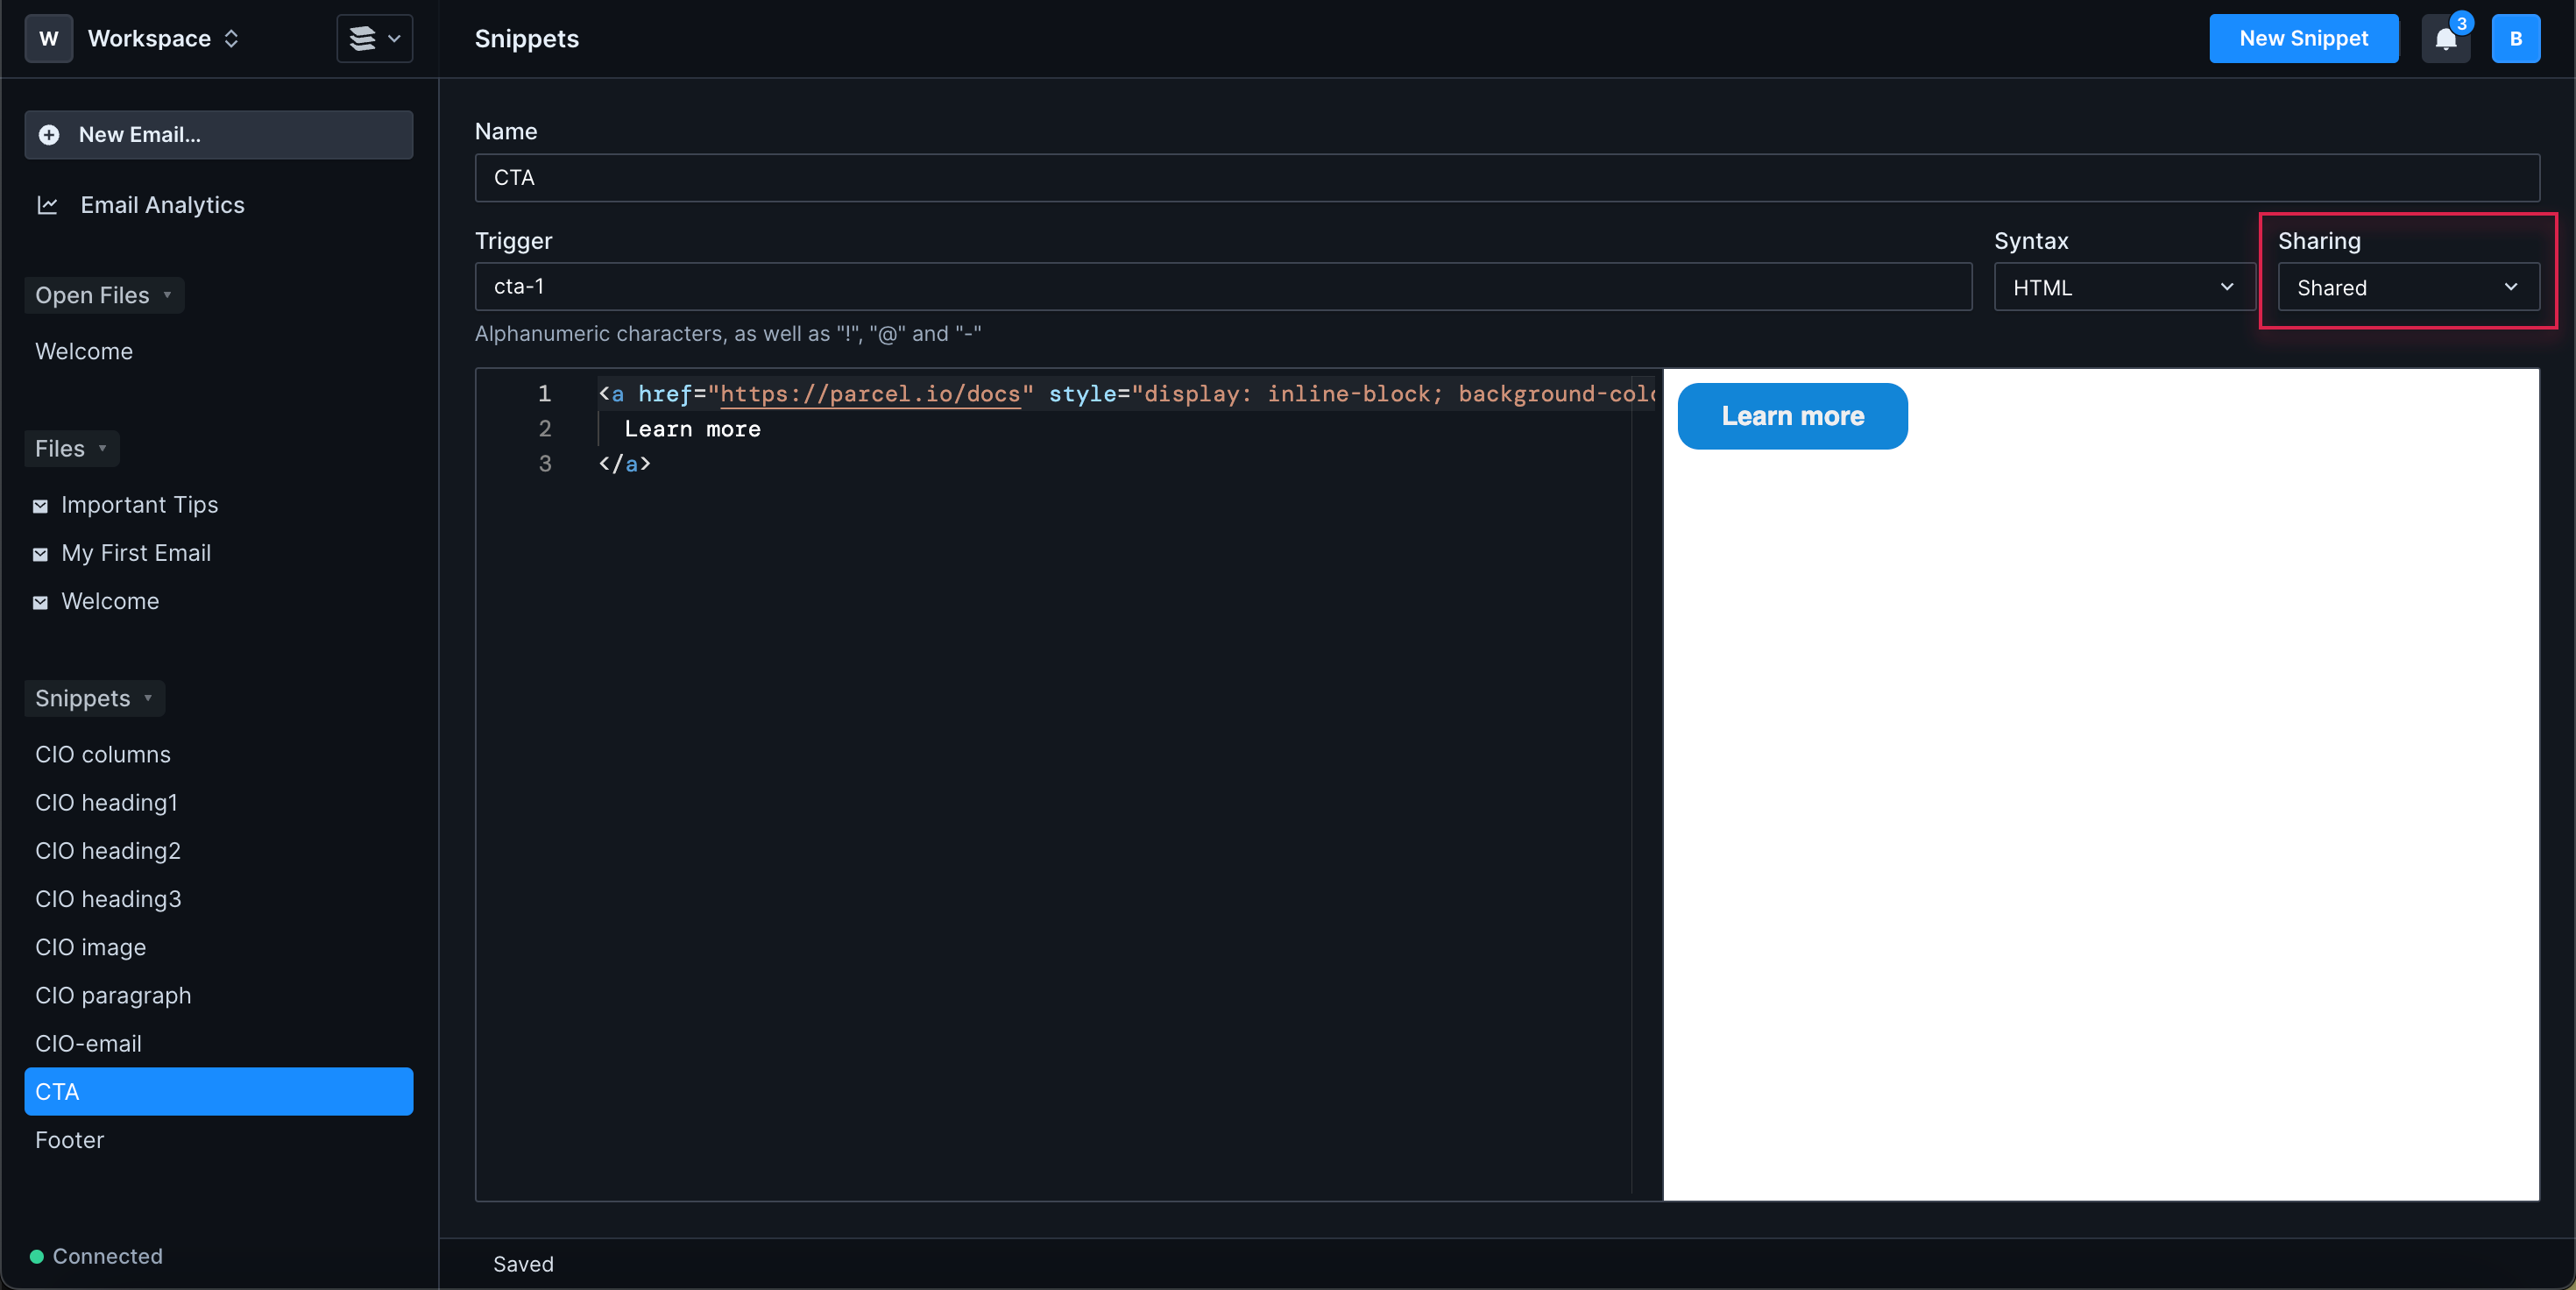
Navigate to the Snippets section of the Sidebar and click "+" to the right of the title. Give your snippet a descriptive name and a trigger, which you can type and tab in an email to insert the snippet. Then add your content.
Trigger names can contain any letter or number, as well as a select list of symbols (@,-,!).
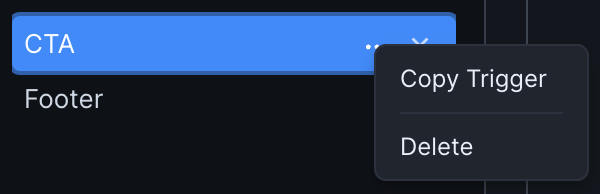
You can easily copy the trigger by right clicking on the snippet name in the list.
To use a snippet, open an email you want to edit. Wherever you want your snippet to go, start typing the snippet trigger, and press Tab to autocomplete and insert the snippet. You can also navigate the autocomplete menu with the arrow keys and/or cursor.
Snippets are a one time replace that swap the trigger for the snippet. If you later go back and edit the snippet in the Snippets panel, the older version of the snippet in the code editor will remain unchanged.
Tabstops are targets for your cursor once the snippet is used. Use $# (ex: $1, $2, $3) anywhere you'd want to add additional code in the snippet. For example, the snippet:
<table>
  <tr>
    <td>$1</td>
    <td>$2</td>
    <td>$3</td>
  </tr>
</table>
when used, will jump your cursor to the position $1. You can enter whatever should be there and then hit tab to move to the next tab stop.
If you want multiple tab stops to have the same content, you can use the same number, and you'll get a cursor on each one.
<table>
  <tr>
    <td>$1</td>
    <td>$1</td>
    <td>$1</td>
    <td>$1</td>
    <td>$1</td>
  </tr>
</table>
Tabstops don't have to be numbered sequentially in the code - just sequentially in the order you want to use them. For example, the following is valid:
<table>
  <tr>
    <td>$3</td>
    <td>$2</td>
    <td>$1</td>
  </tr>
</table>
Tabstops can also include placeholder values, which will be auto filled when you get to that tabstop. The placeholder value will be selected so it can be easily changed. You can nest placeholder values too.
<table>
  <tr>
    <td>${1:defaultValue}</td>
    <td>${2:Parcel is really cool}</td>
    <td>${3:I like ${4:email}}</td>
  </tr>
</table>
Placeholders can have a list of items as potential values. Choices must be a comma separated list with a pipe (|) character on each side. For example:
<table>
  <tr>
    <td>${1|firstChoice,secondChoice,thirdChoice|}</td>
    <td>${2|apple, banana, orange|}</td>
    <td>${3|pineapple smoothies are tasty, strawberry shakes are better |}</td>
  </tr>
</table>
By default, the snippets you make are private to you. When you navigate across workspaces, only you can see the snippets you created in the Sidebar. If you want other team members to use one, return to the Snippets panel and change the Sharing drop down on the right to "Shared". Anyone on your team can use a shared snippet across their workspaces.
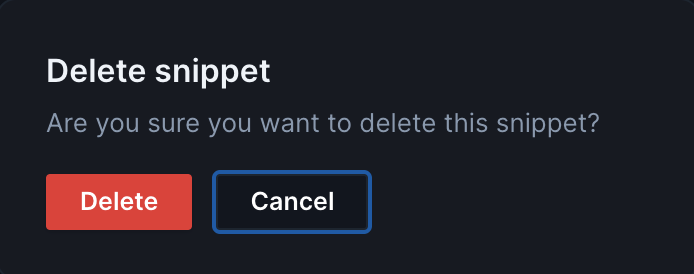
To delete a snippet, return to the Snippets page and find the snippet you wish to delete. Right click on it and click delete.
You'll be prompted with a confirmation before the snippet is deleted.
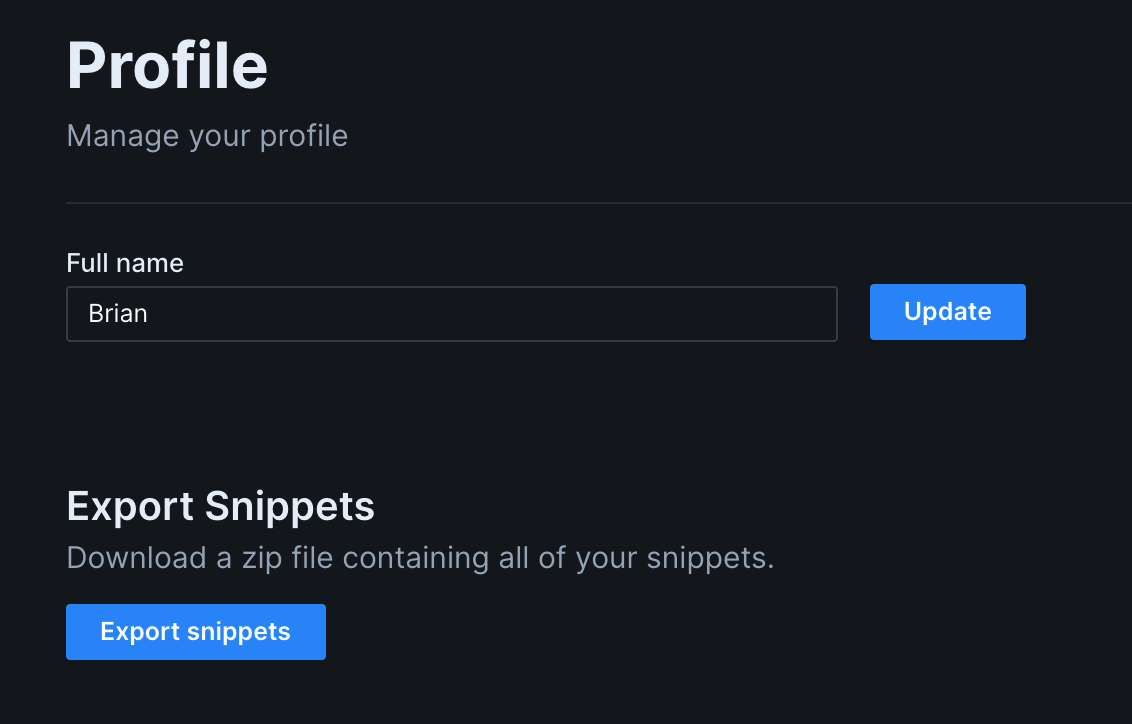
You can export a zip of all of your snippets with the Export button in the Profile settings page
If you are looking for more powerful, reusable code blocks, check out Components.