Build an email
Build an email from scratch using the visual editor
When building an email in the visual editor, you'll drag standard or custom components from the Insert menu and drop them in whatever order you like on the Canvas. Then you can edit the content by clicking into the component or style them through the Properties menu.
Make sure you have a base component! Check out Message Settings for help.
You can utilize markdown syntax to transform standard components and style text. For instance, if you type # Welcome into a text component, we will update the component to a heading.
| Markdown Syntax | Result |
|---|---|
| # Hello | Heading 1 component |
| ## Bonjour | Heading 2 component |
| ### Hola | Heading 3 component |
| #### Sveiki | Heading 4 component |
| ##### Hej | Heading 5 component |
| ###### Ciao | Heading 6 component |
| ** hello ** | bold |
| * hello * | italics |
| ~ hello ~ | strikethrough |
| __ hello __ | underline |
| - hello | converts a prose component like a paragraph to an unordered list component |
| * hello | converts a prose component like a paragraph to an unordered list component |
| 1. hello | converts a prose component like a paragraph to an ordered list component |
You can continue to add or modify content in the Code editor while using the Visual editor. Toggle to Code when you need.
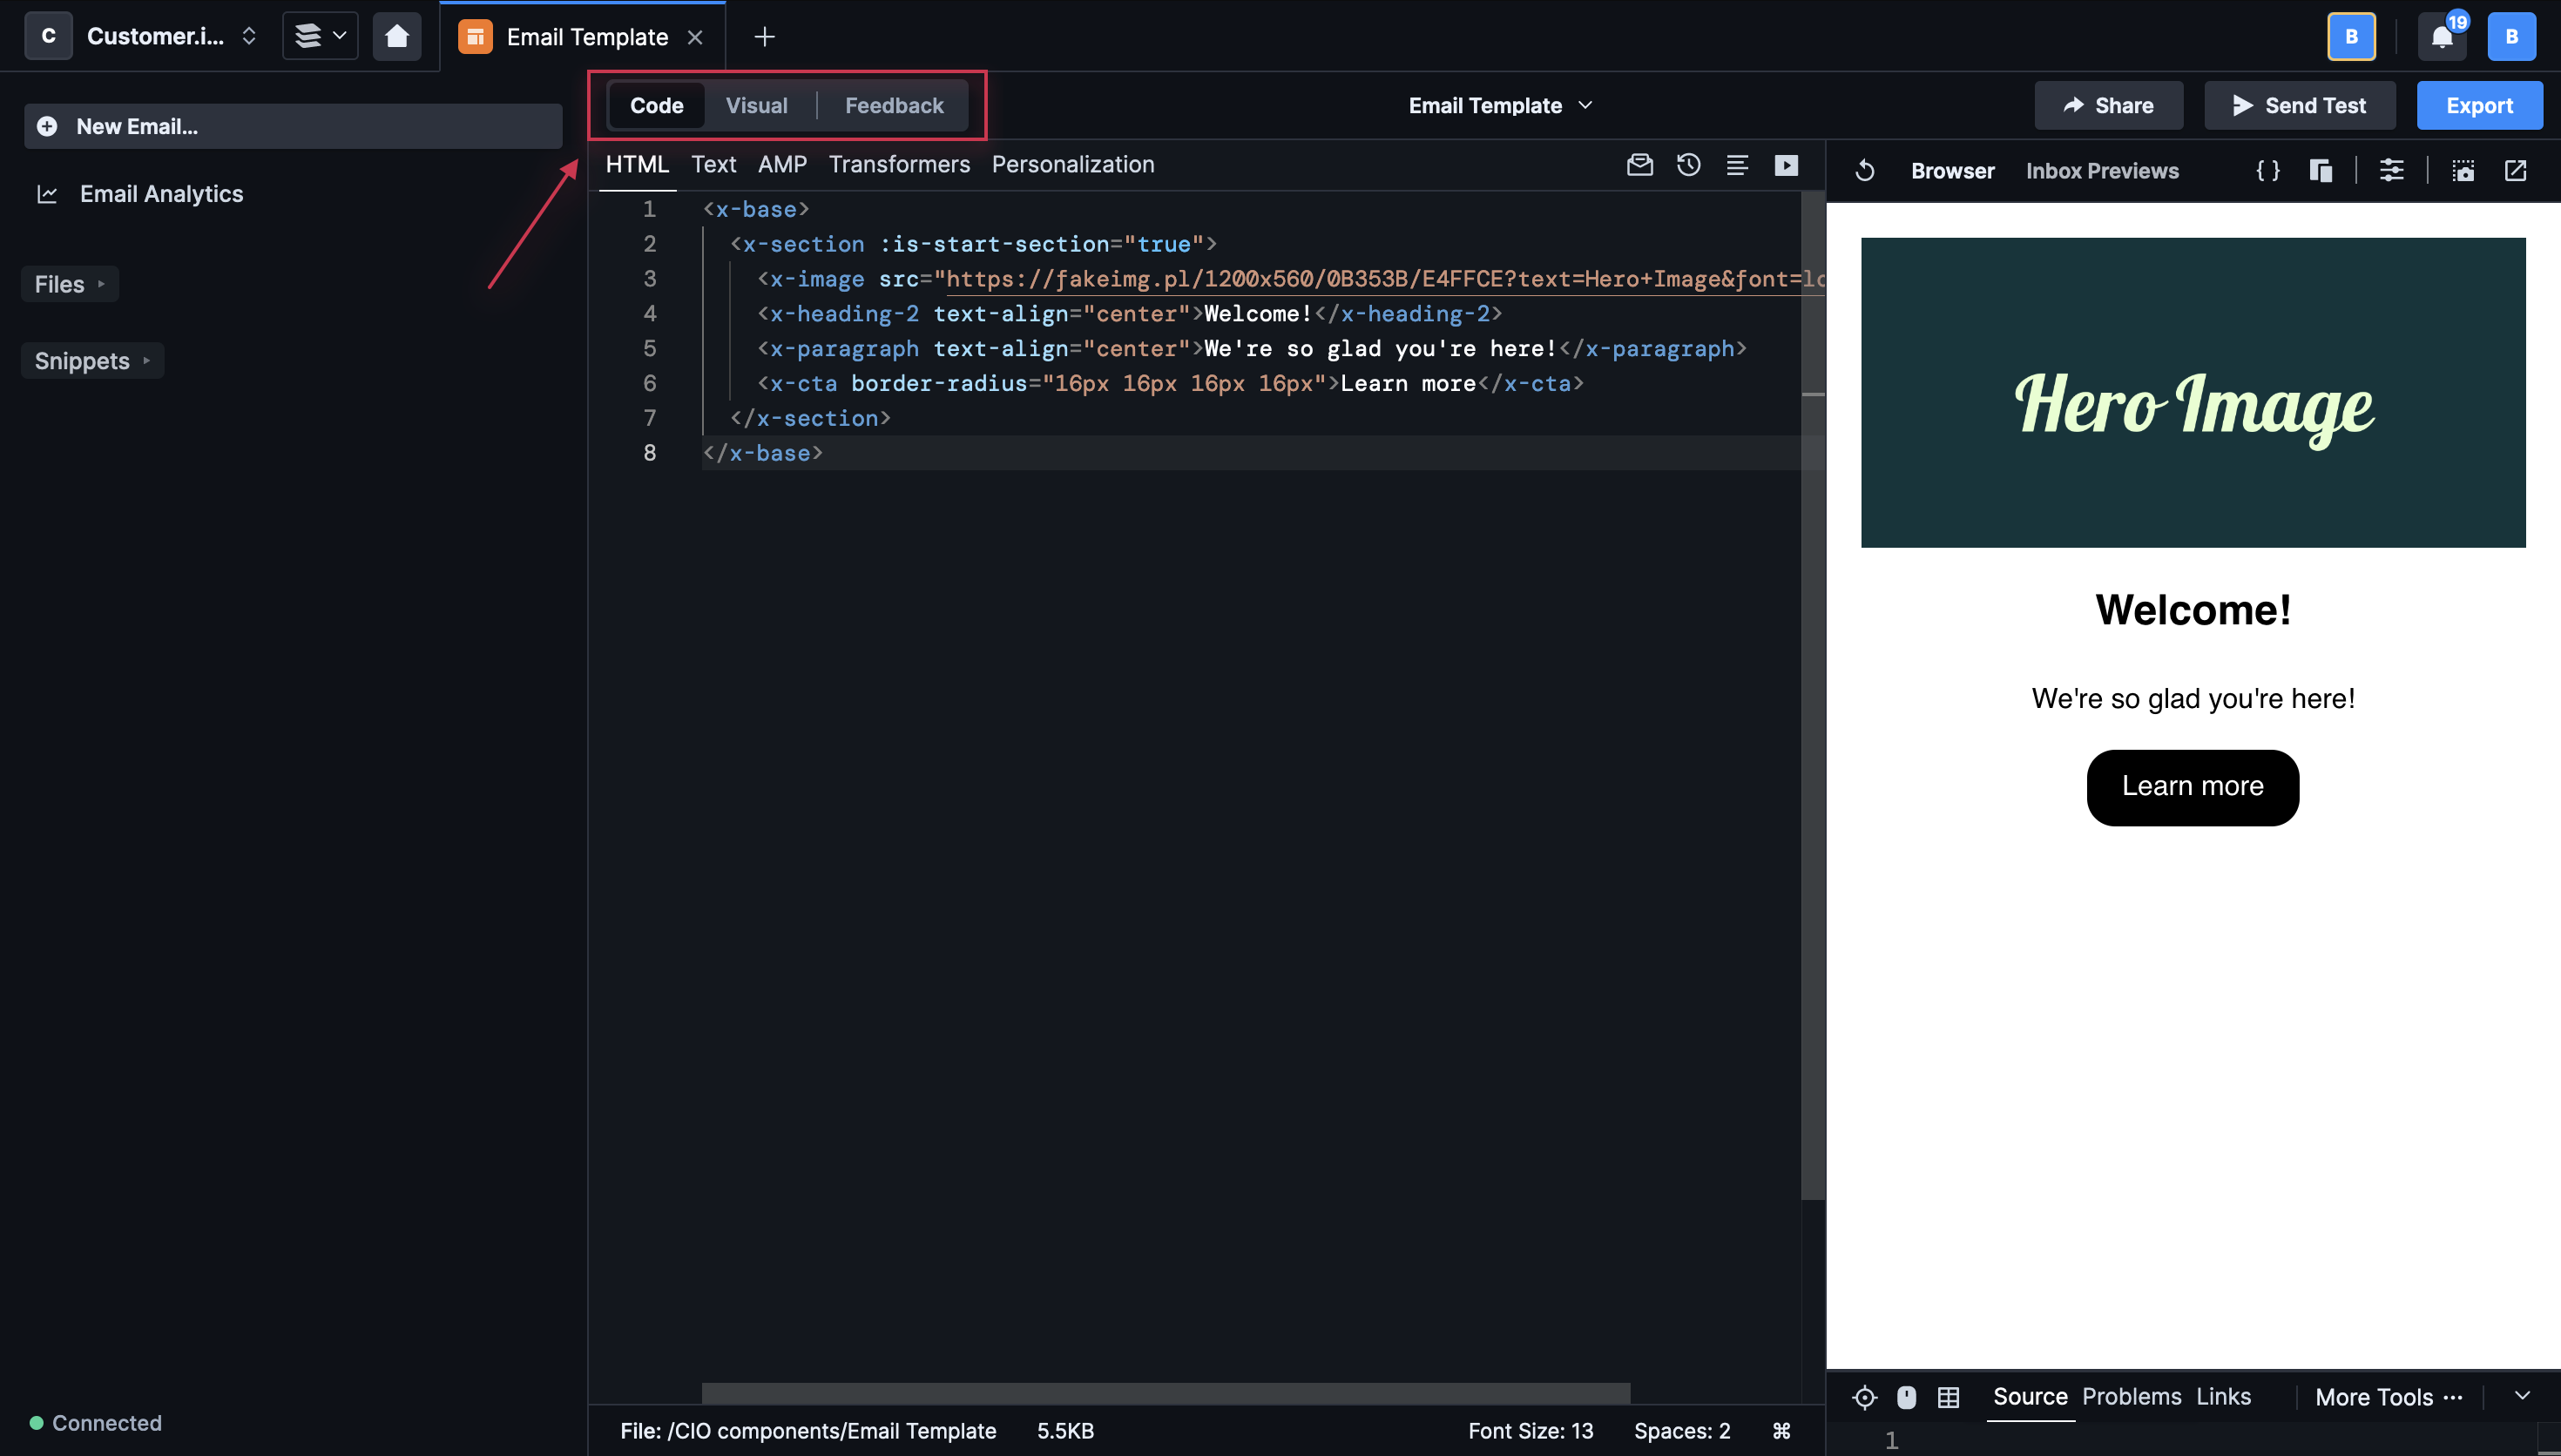
You'll need to do this to turn off click tracking on links, add gradient styling to CTAs, add variants to components, style for dark mode vs light modes, and style for mobile vs desktop.
Keep in mind, while you can add any HTML in the code editor, there are some limitations on what HTML you can modify in the visual editor. In the visual editor, you can edit and style:
- text within the following HTML tags:
p,h1,h2,h3,h4,h5,h6,a,li - images including the source and alt text for accessibility (use
<x-image>instead!) - links for both text and images
If, for instance, you include a <div> tag with text inside or outside of a component in your message, you must wrap that content in a special tag (see below) so you can modify it in the visual editor.
If you want to edit text but it's not in a supported tag, you can wrap it in a <x-edit-text> tag. This lets you edit the text in the visual editor.
Example:
<div style="font-size: 12px;">
  <x-edit-text> This is a div that you can edit. </x-edit-text>
</div>