How to upgrade
Our next generation of components comes with upgraded, custom components as well as standard, pre-built components.
Custom components are available on the Pro and Business tiers. Standard components are available across all plans.
We are in the process of migrating all accounts to our latest generation of components. If you aren't able to add standard components or create custom components with our latest functionality, you can manually upgrade your workspaces and files.
For workspaces created on or after April 23, 2024, you're set up to add standard components and create our latest, custom components by default.
For workspaces created before April 23, 2024, you must toggle on “Next Generation Components” in Workspace Settings > Experimental Features to add standard components and/or create our latest, custom components. For custom component files created before April 23, you must also go into each component file and click upgrade.
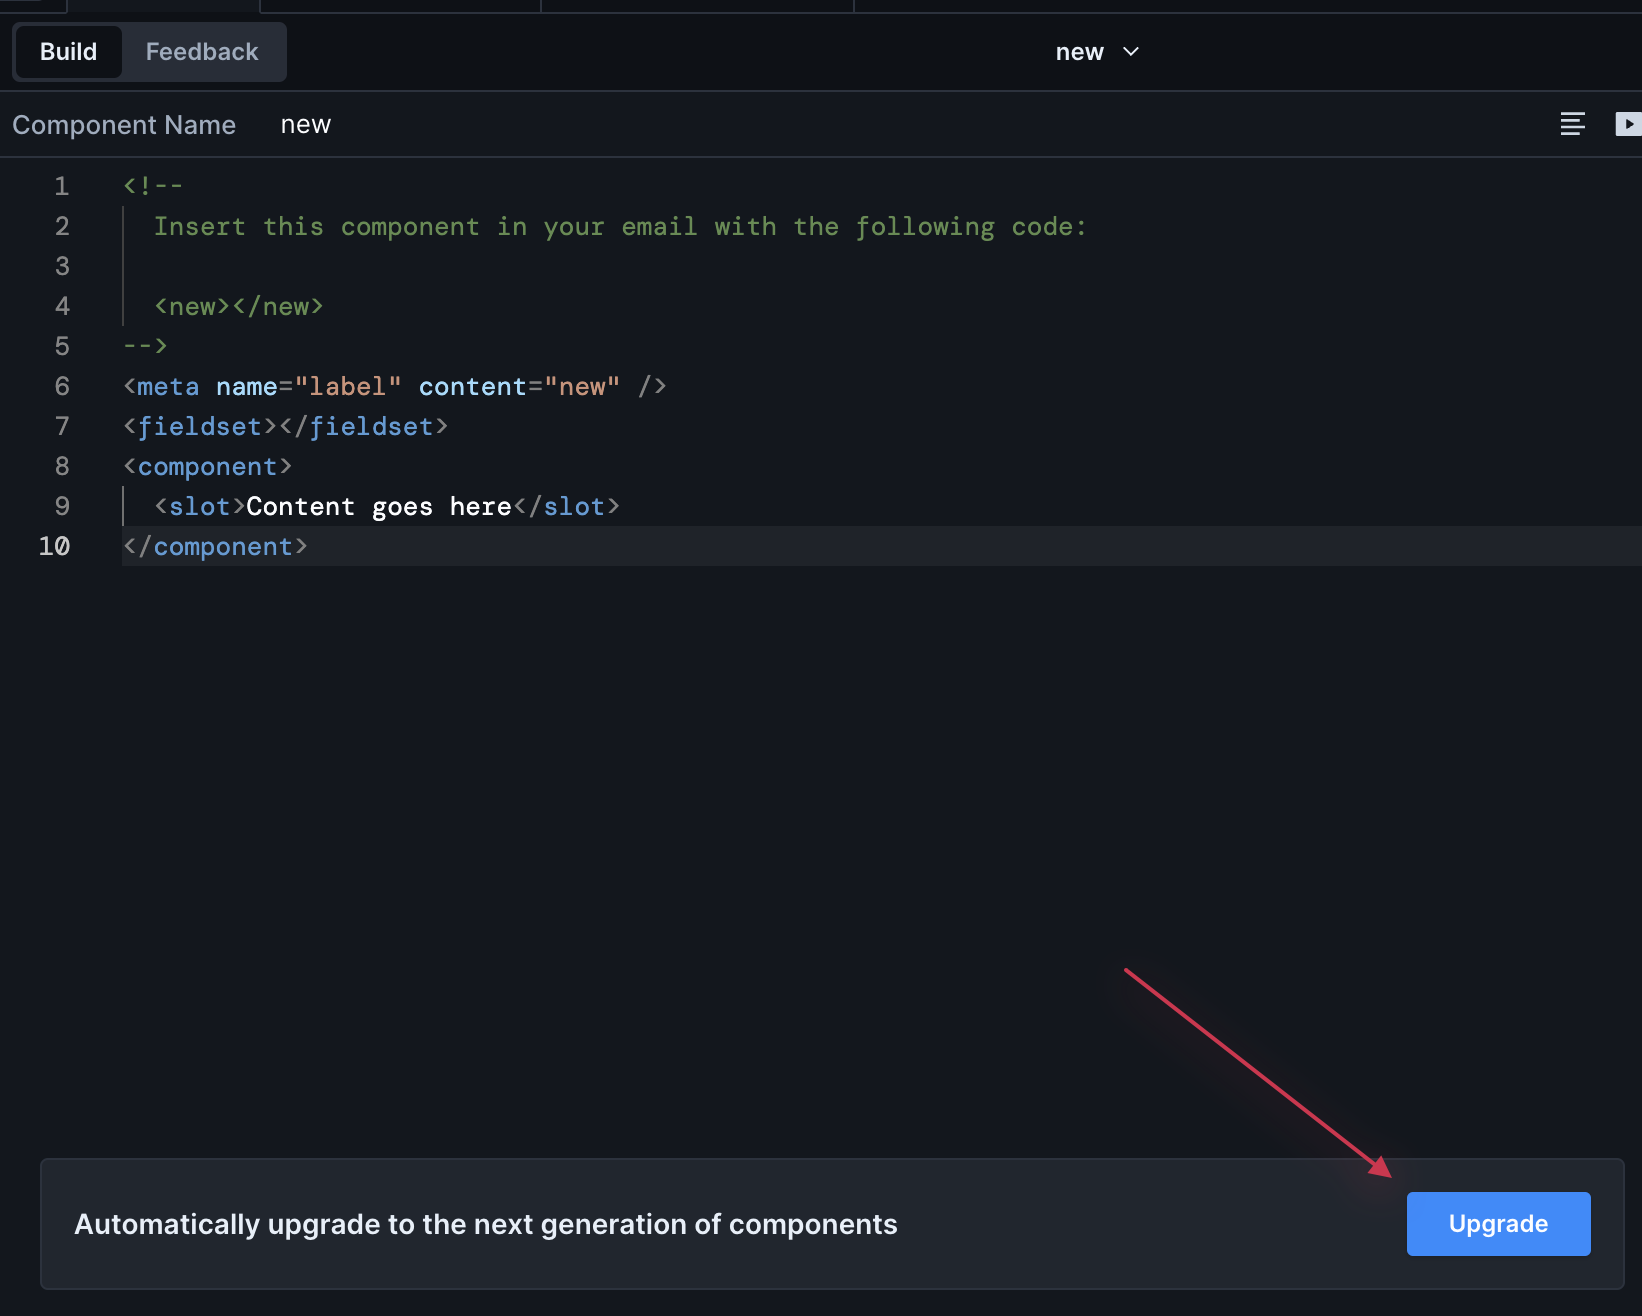
After you click Upgrade, we will update the component to use the latest structure so it keeps working across your emails. You must go into each, legacy component file and click upgrade; there is no way to upgrade all legacy components at once.
If you're not sure whether you're ready to upgrade, duplicate your component file before clicking "Upgrade." This way, you can immediately go back to the legacy component model.
Immediately after clicking upgrade, you can also enter ctrl + z or cmd + z, depending on your computer, to undo the change. Otherwise, there is no way to downgrade.