Images
Learn how to add images to your emails from the Code Editor.
To add images through our Visual Editor, learn about the Insert menu.
You can work with images hosted elsewhere with absolute URLs, or you can upload them to Parcel. If you upload images to Parcel, please note this is for testing and previewing purposes only. Parcel currently does not support image hosting aside from the purpose for building your emails. When you export your email as a ZIP file, this will include the assets that you then should rehost.
You can use images via relative or absolute paths.
If you move an image file into or out of a folder, you will need to manually update the path!
Your image path can be relative to the location of your email. For example, if you have:
├── My First Email
├── image1.png
└── images/
    ├── image2.jpg
    └── image3.jpg
then you could add this to the source attribute of an image tag:
<img src="./image1.png" />
or of our standard, image component:
<x-image src="./image1.png" />
You'd reference image2 like so:
<img src="./images/image2.jpg" />
or
<x-image src="./images/image2.jpg" />
You can also use absolute paths. For example, if you have:
├── emails/
    ├── My First Email
    ├── image1.png
    └── Newsletter
└── images/
    ├── image2.jpg
    └── image3.jpg
then you could add this to the source attribute of an image tag:
<img src="emails/image1.png" />
or of our standard, image component:
<x-image src="emails/image1.png" />
You'd reference image2 like so:
<img src="images/image2.jpg" />
or
<x-image src="images/image2.jpg" />
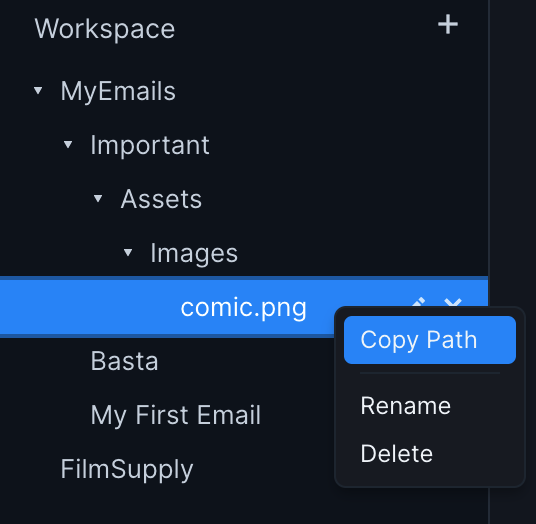
Right click on an image in the file explorer to copy it's path.