Feedback
Get feedback on your emails from your team.
Feedback and Approvals are available on the Business tier.
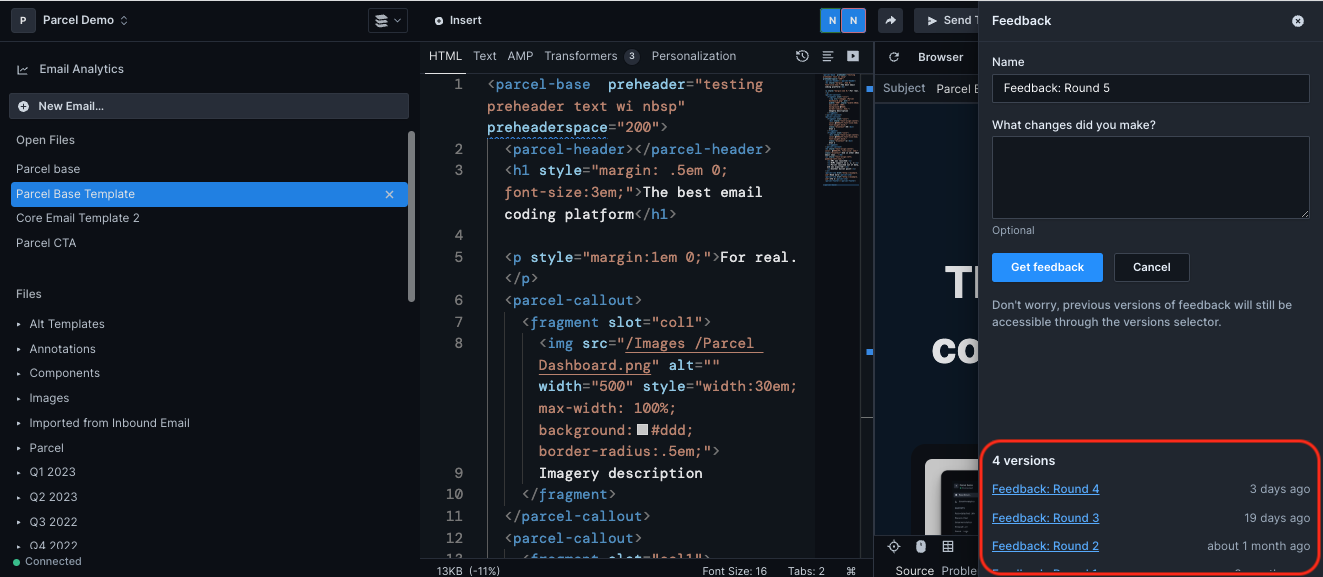
Feedback and Approvals allow other team members to leave comments, annotations, and approvals on your email. Create your first feedback version by clicking on the "Feedback" button at the top of the editor. Use the default name or add your own, and add a description of the changes you've made.
You can click Share on the right-hand navigation to share a public link of your email to collect feedback from anyone on your team even if they don't have a Parcel account.
As comments come through, you can swap between viewing them in the Feedback panel and addressing them in the Code or Visual Editors.
As you work through implementing stakeholder feedback, you can share an updated version of your email to ensure its content is fresh. Each version is considered a “round” of feedback. Parcel automatically saves your version history each time you request a new round of feedback.
You can send the feedback page link to anyone, and they can comment/approve even if they do not have a Parcel account.
The feedback page allows other team members to leave comments and annotations on your email.
Left-hand panel
- Feedback verison: In the top left corner, you'll see the feedback version you are viewing. Click the drop-down to review other feedback versions.
- Comments and reviews: Under the feedback version, you can see any previously made comments and reviews. The comments section has a filter to show/hide them by current configuration and resolved comments.
Top menu bar
- Select the cursor icon in the top menu bar to interact with the email (click on links, etc).
- Click on the message icon to switch from interactive to annotation mode, in which you can annotate the email and leave comments.
- Click the desktop and mobile icons to switch between a preview for desktop or mobile aspect ratios. Comments are specific to device-type. Clicking on any comment in the sidebar will open the comment in the specified device view.
- The preview controls menu allows you to view the email with images blocked, in light/dark mode, and with a variety of simulated visual impairments.
- Click the Review button in the upper right to leave a global comment, approve changes, or request changes. These messages will appear in the right sidebar and in the Feedback panel, which you can navigate to by clicking Feedback above our email editors.
Your stakeholders can approve your email, which will be reflected in your Parcel workspace. You can still create new feedback versions and solicit additional feedback.
You can send the feedback page link to anyone, and they can comment/approve even if they do not have a Parcel account. Users without an account will be prompted for their name and email address when they try to comment.
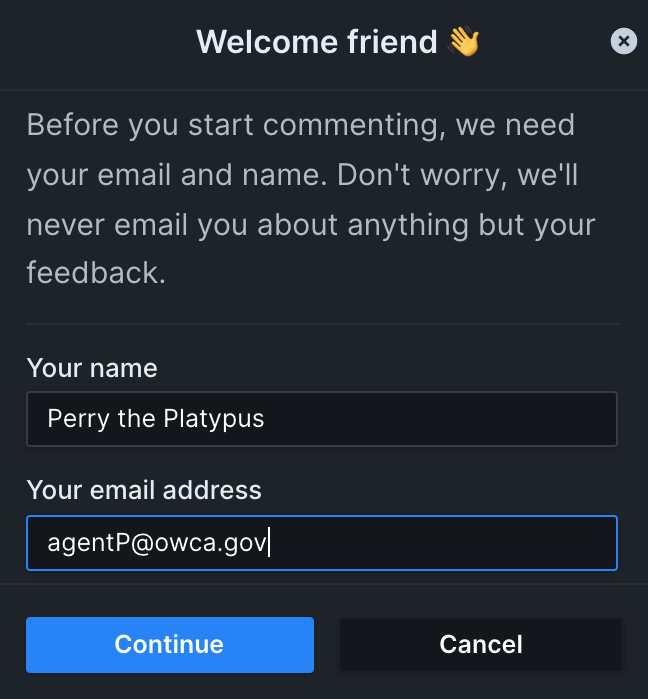
Comments left by anonymous reviewers will appear in the left sidebar with a square icon. Comments left by signed-in users are displayed with a circle icon.
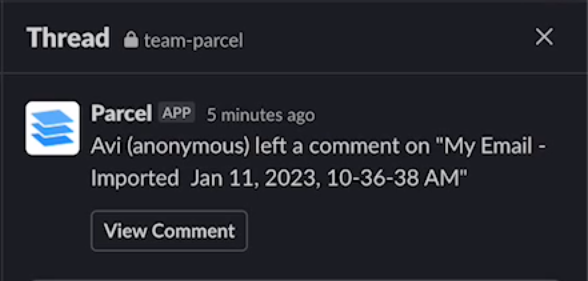
You can notify people via Slack in real-time when comments are made in Parcel. Slack notifications are workspace-specific, so you will need to repeat this setup for each workspace you want to receive comments from.
Comments in Slack will link to the Feedback page of your email.
To set up the Parcel x Slack integration:
- Go to Workspace Settings.
- Select the workspace you’d like to enable the integration on.
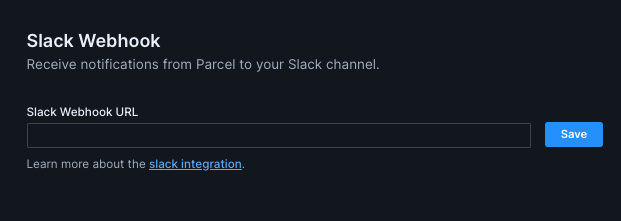
- Scroll down to Slack Webhook.
- Now go to Slack. Click your workspace name in the top left.

Screenshot showing an example Slack workspace titled Acme Corp. - Select Administration from the menu, then click Manage apps to open the Slack App Directory.
- Search for "Incoming Webhooks."
- Click Add.
- Select the channel you’d like to post comment notifications to.
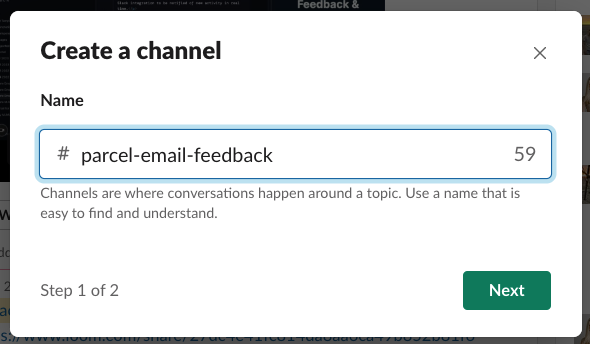
Screenshot showing a new Slack channel labelled parcel email feedback that will be used to bring in webhooks from Parcel. - Copy the webhook URL from Slack.
- Navigate back to your Workspace Settings in Parcel, and paste the URL provided into the Slack Webhook URL.
Now, when you receive comments from others in Parcel, they will populate into your Slack Channel! Remember to repeat this process for every workspace you want to receive comment notifications from.